PowerPoint Removing Backgrounds from Pictures
Table of Contents

Removing Backgrounds from Pictures
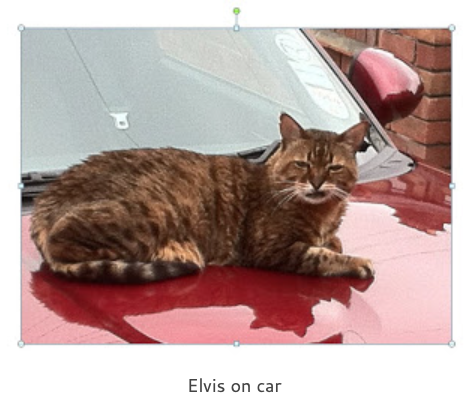
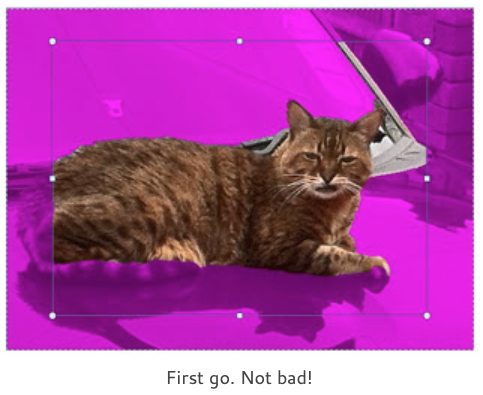
First Pass
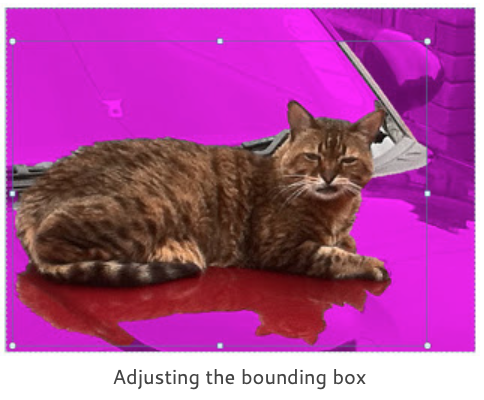
I’ve dragged the left edge of the box to the left and Elvis gets his tail back. Great. I’ve dragged the bottom edge of the box down and Elvis gets his front paw back but I’ve gone too far down and included his reflection on the car.
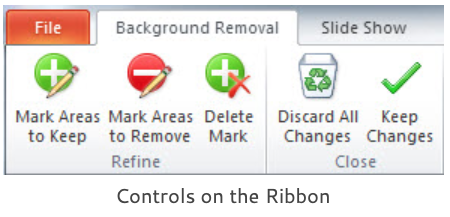
Keep going with the box until you get as close as you can to your desired image. Now it’s time to zoom in and deal with all the fine work by using the keep and remove controls on the ribbon.
Fine Tuning the Image
Zoom in or out of your image either by using the Zoom control at the lower right-hand corner of the PowerPoint window or by holding down the CTRL key as you spin your mouse wheel forward or back.
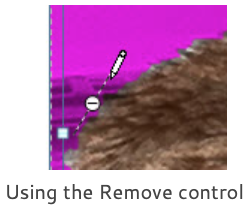
When you use the Mark Areas to Keep and Mark Areas to Remove controls don’t bother trying to draw a line around the areas to keep or remove, instead draw a line straight across them and let the edge detection do the work for you.
Draw a line with the pencil pointer straight across the offending areas.
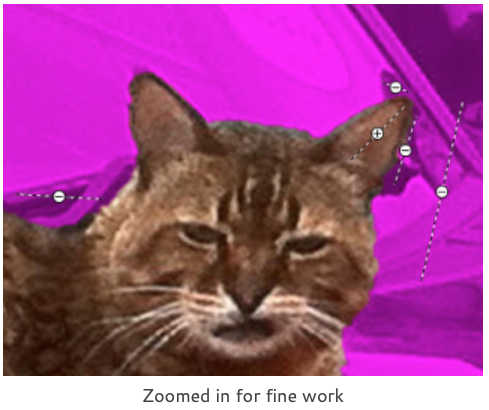
Here we can see the results, after a few swift strokes most of the car has been removed and if I had more patience then I would have continued going around Elvis and tidying up his fur but I wasn’t bothered as it’s a fairly low-res photograph and the intended slide image is quite small.
It’s time to click the Keep Changes control and let the cat out of the bag.
I’ve often wondered why that cat is called Elvis.
Finished
